How to install Azure Active Directory Connect
A step by step guide (with screenshots) on how to install Azure AD Connect.
Time flies when you’re connecting to Azure AD. Late last month Microsoft announced that Azure AD Connect is now generally available. At the time of writing this, the synchronisation app itself still isn’t the default sync standard for Azure and obtaining the installer requires a quick Google. Since I’m deploying it for a client, I thought I’d run through the install process for future reference.
AADConnect provides allot of new functionality like for example this new fandangled ADDS password sync. In this scenario I’m keeping federation services, so ADFS will be deployed, which is more aligned with the previous or most common enterprise identity design.
This is going to be a long blog post with allot of screen shots (you’re welcome) on how to deploy Azure AD Connect. I’ll be going though the wizard process which will follow the automated process to deploy AADConnect, ADFS and ADFS WAP servers- pretty cool indeed.
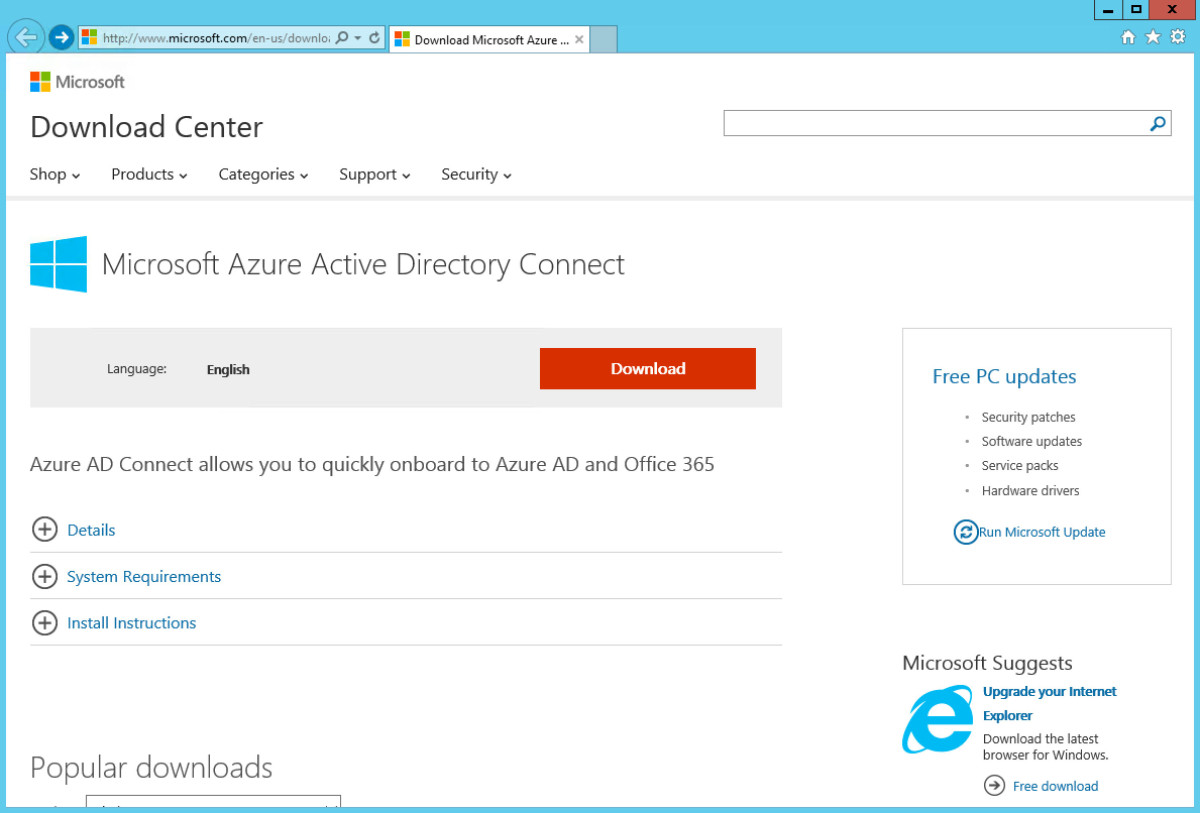
At the moment AADConnect still isn’t the standard synchronisation service for Office 365 or Azure AD and requires download from the Microsoft Download Centre. To begin with, I’ve downloaded the AADConnect installer from this location.
I’ll keep the feedback between screenshots short and sweet, so to follow along with the installer, begin here…
Lets begin
My environment that I’m deploying AADConnect, ADFS and ADFS WAP in is Azure compute. There is a dedicated instance for AADConnect, there is two ADFS servers (load balanced), two ADFS WAP servers (load balanced) and two domain controllers in an availability group. These have been already provisioned.
Step 1 - Download the client - again available from here.
Step 2 - Launch the wizard
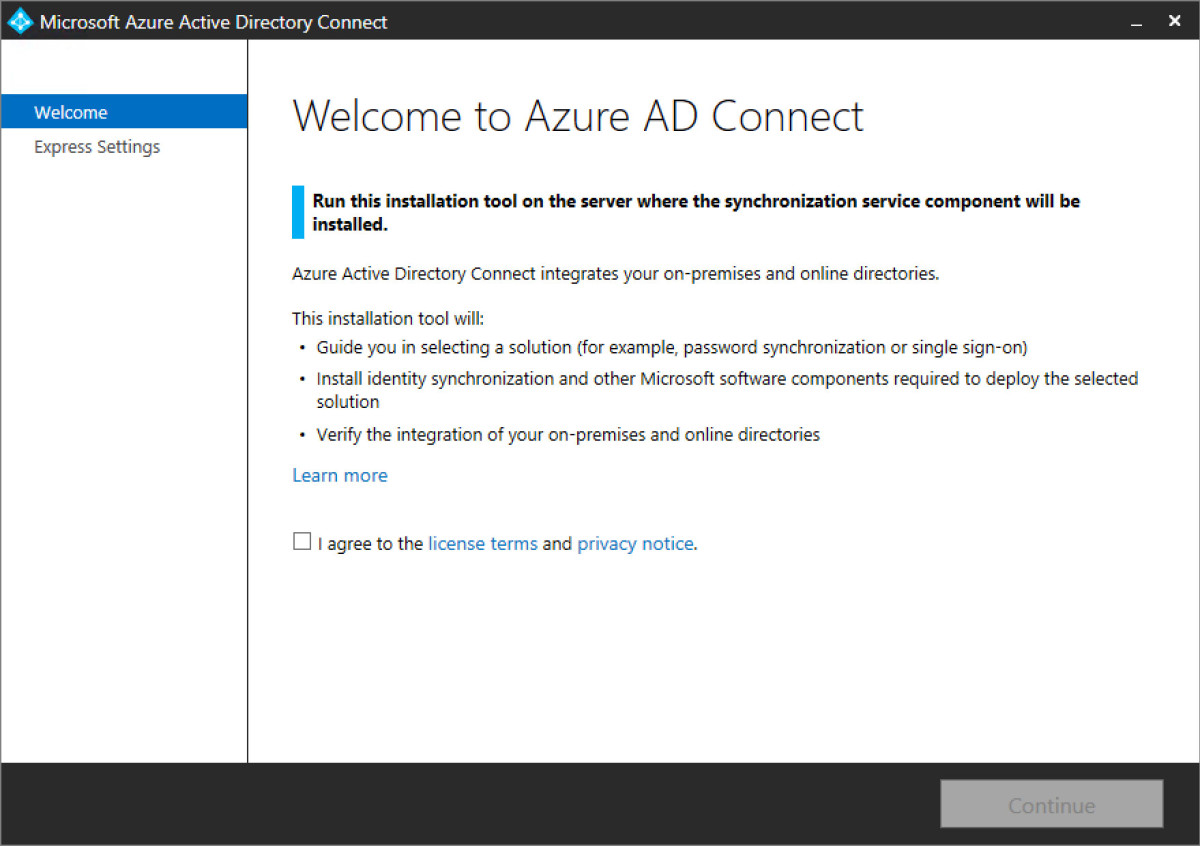
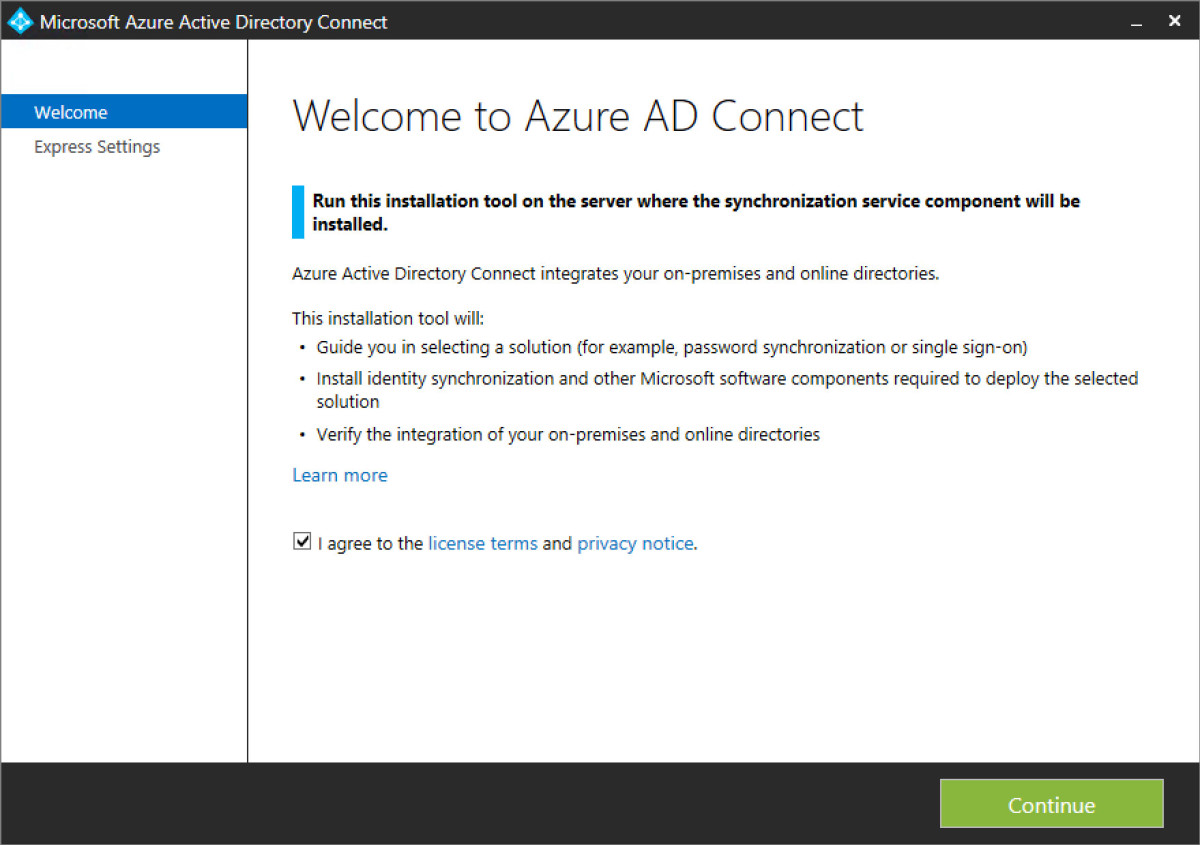
Step 3 - Tick “I agree” and Continue
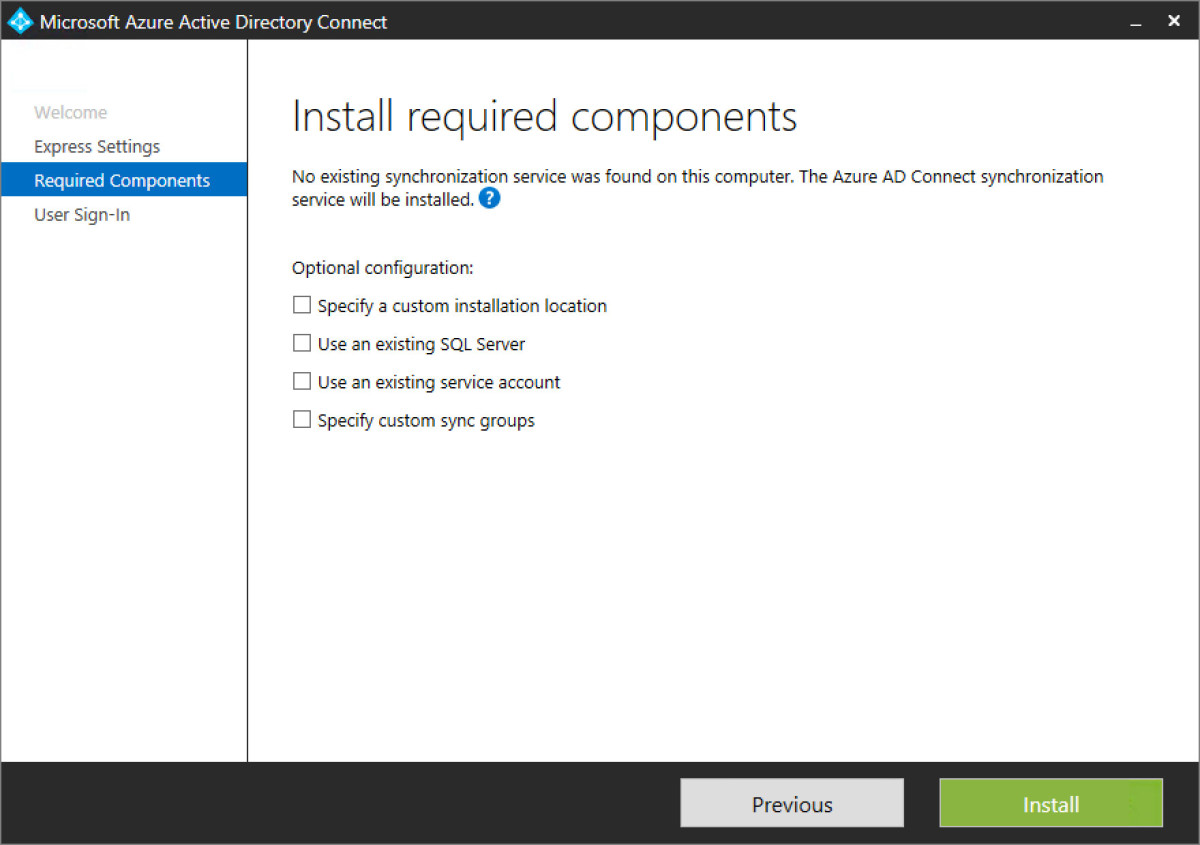
Step 4 -Select Customize to run a custom install

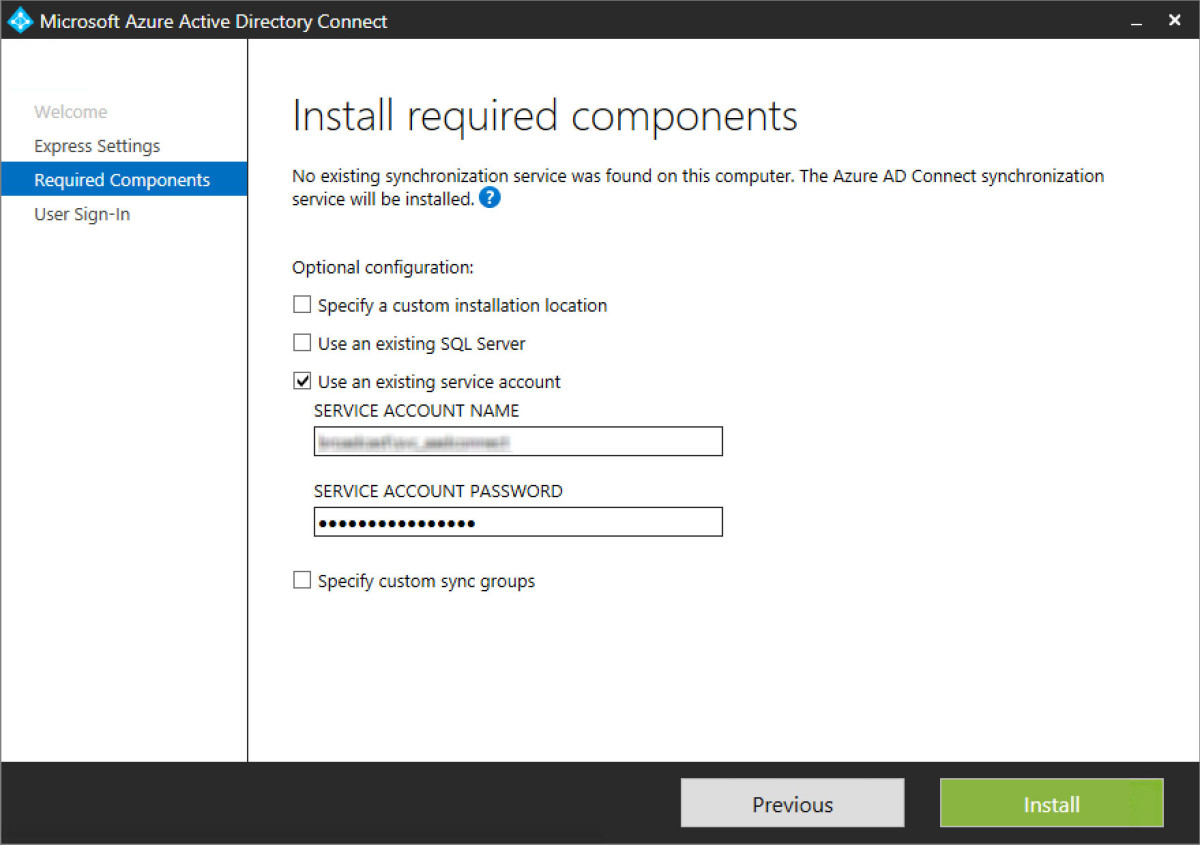
Step 5 - Select the required components. In this scenario I will be deploying with an existing service account which I’ll enter.
Step 6 - I’ve entered the service account for AADConnect. I’ve named it service_aadconnect in the ADDS environment I’m deploying this solution in. Then I hit install to deploy the AAD pre-requisite components on the AADConnect server.
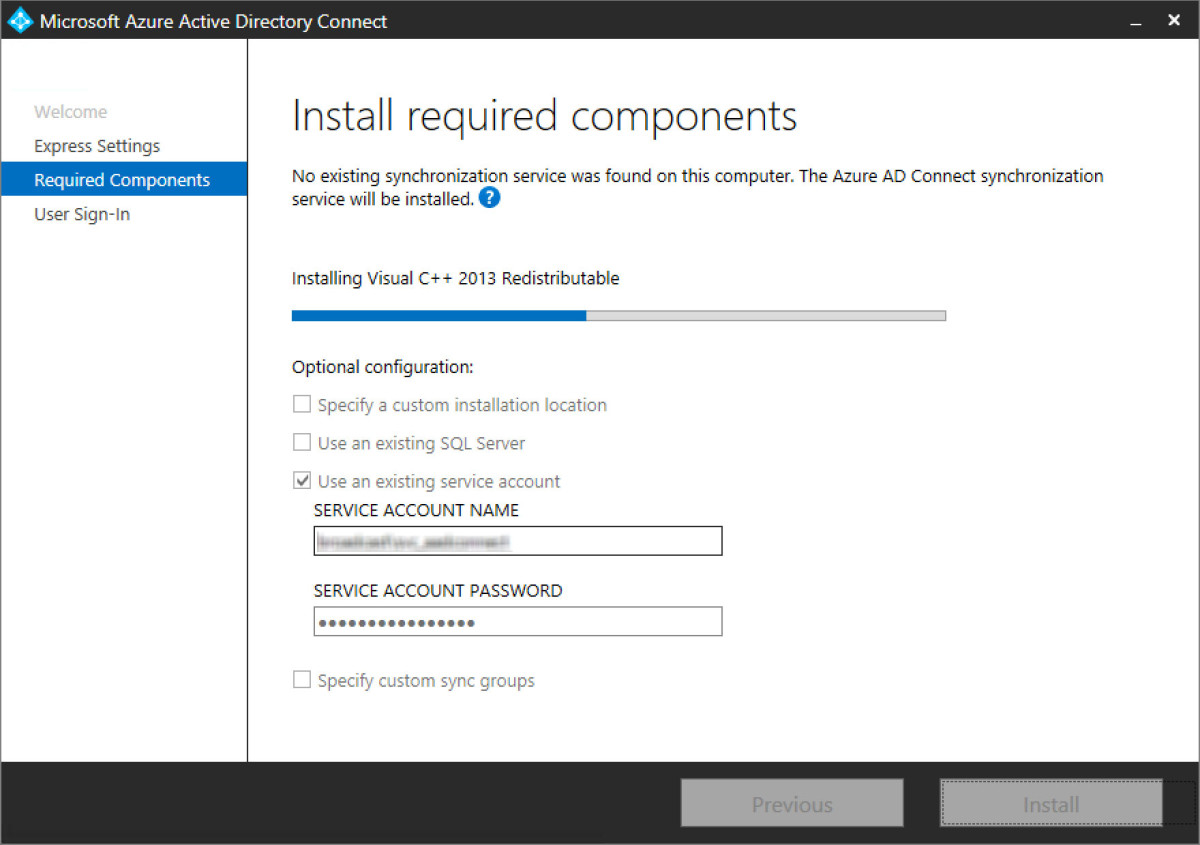
Step 7 - Installation components run through complete. Once completed, continue on.
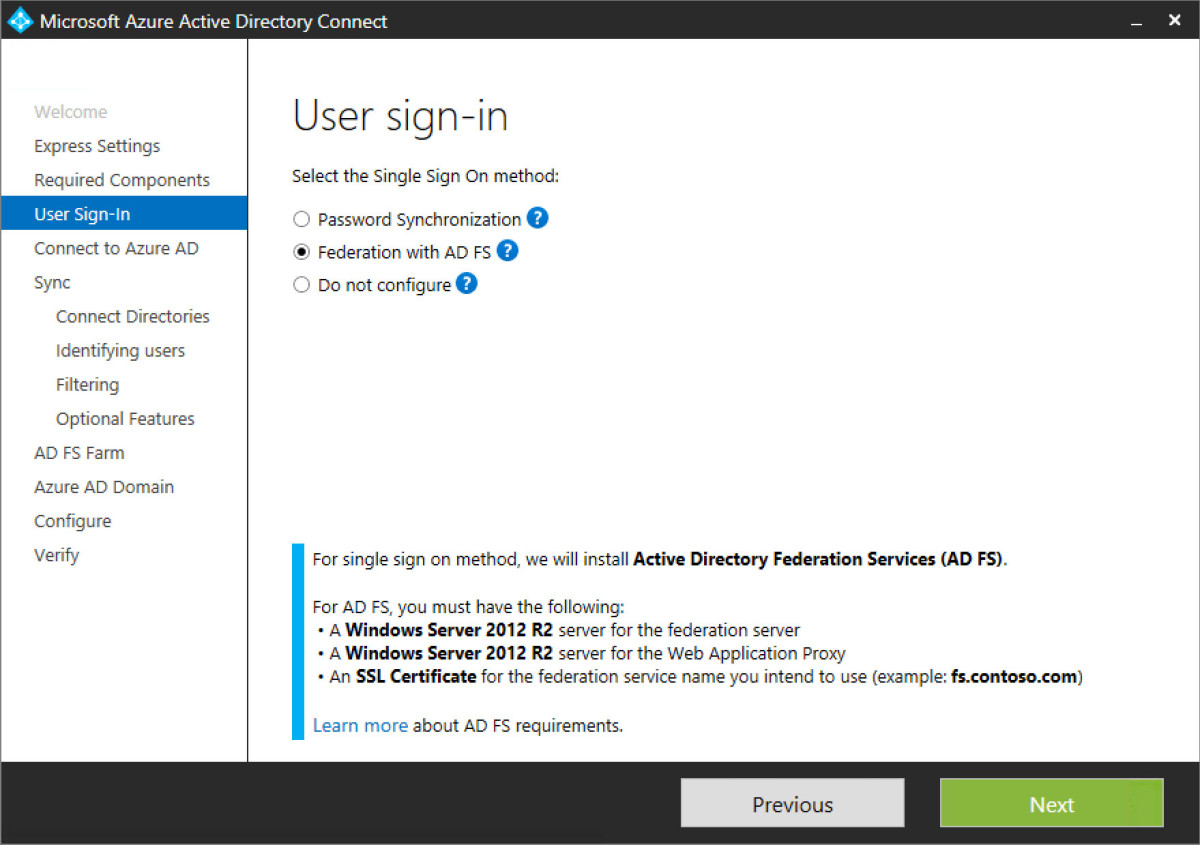
Step 8 - Select the user sign-in option. I want to use Federation with ADFS in this scenario.
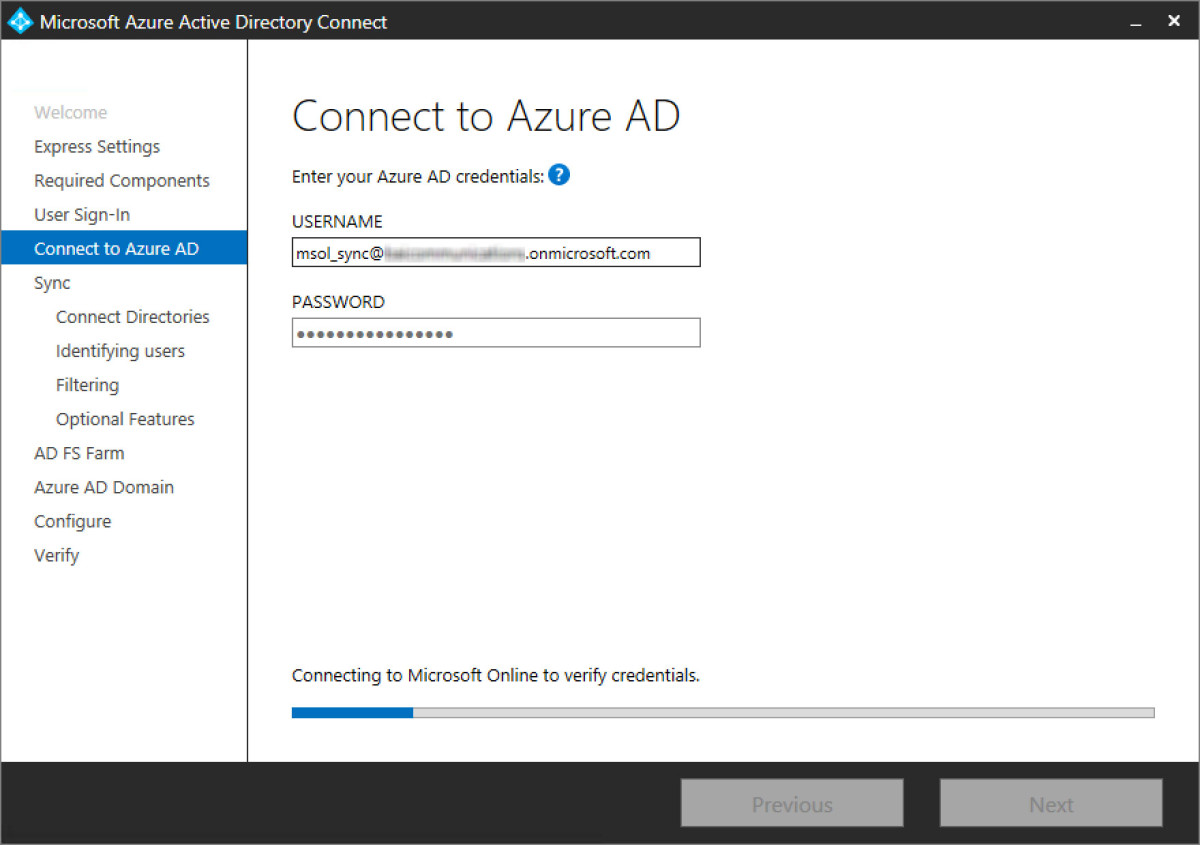
Step 9 - Enter the Azure AD account that will be used in AADConnect to sync objects. This account needs to have global admin rights in the tenant and Office 365.
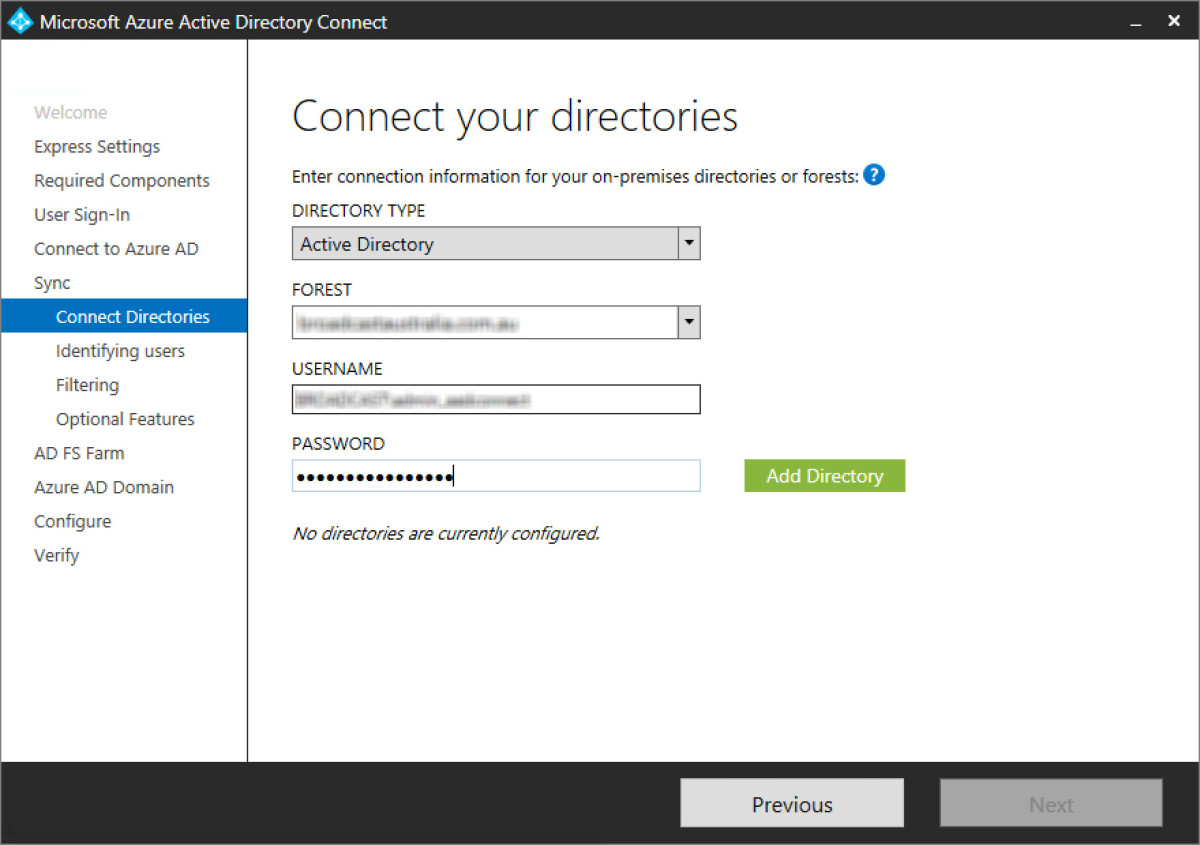
Step 10 - Select the on-premises Active Directory forest and add the directory to AADConnect. Enter in a service account or admin account with enterprise admin credentials here.
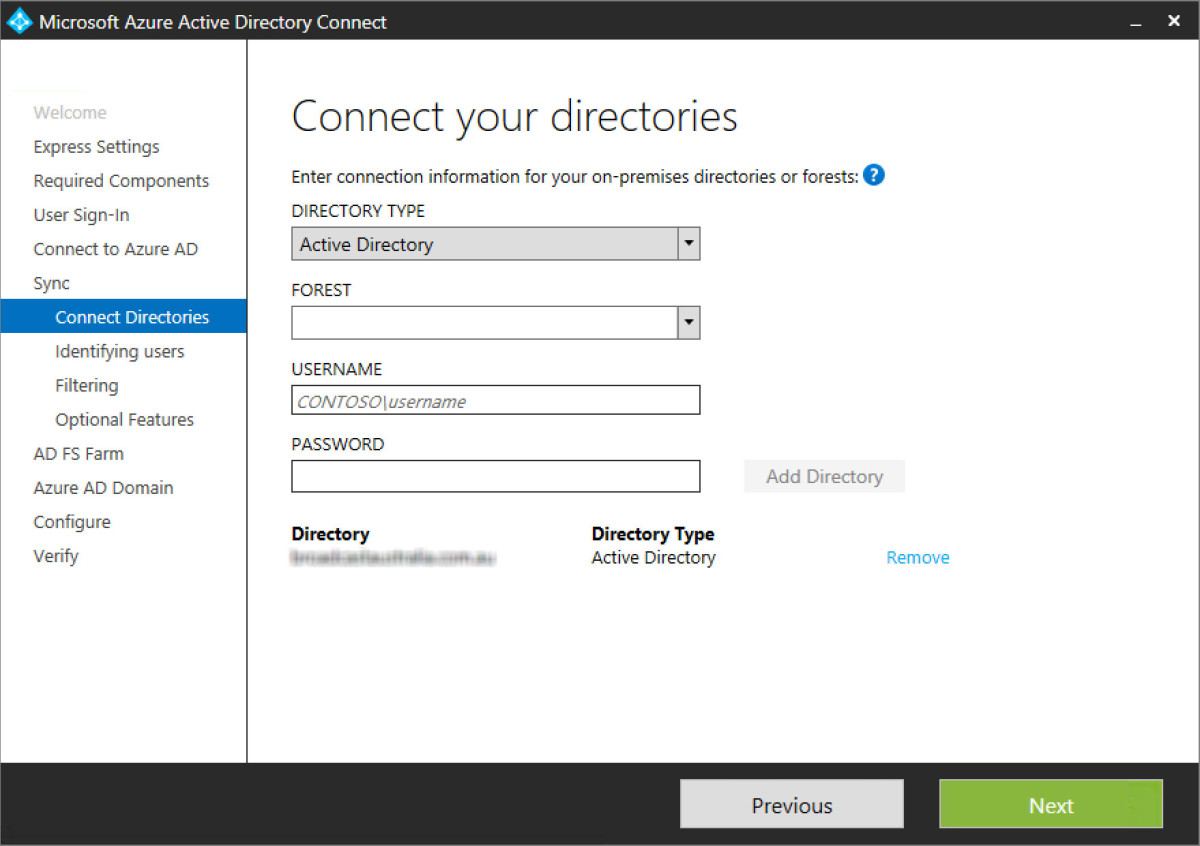
Step 11 - Once AADC has the on-premises ADDS added, continue to next.
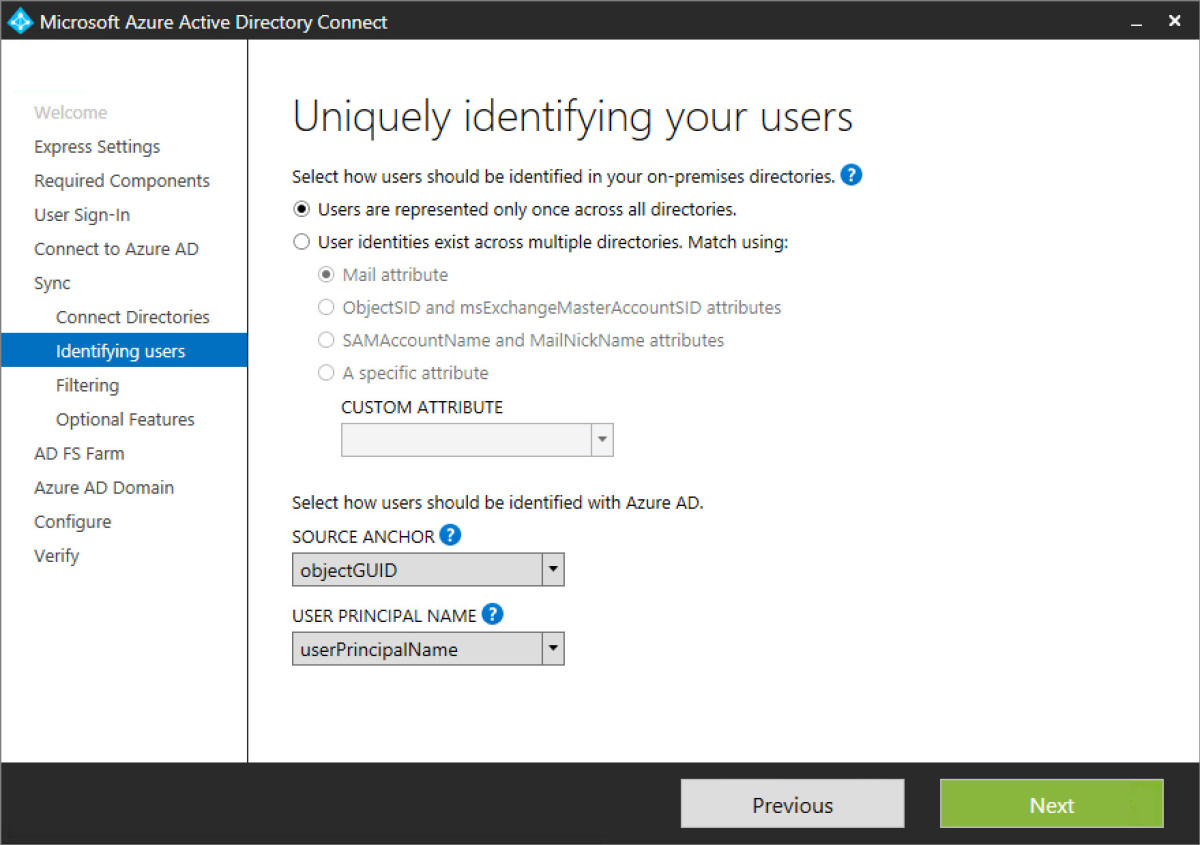
Step 12 - Select the means of which ADDS users will be synced to AAD. There are numerous options here through selecting a single set of credentials and unique attributes is best practice. I’ve elected to use the objectGUID and UPN as my two unique identifiers. Later in the sync service additional attributes will be selected as well, thought these two are the primary means.
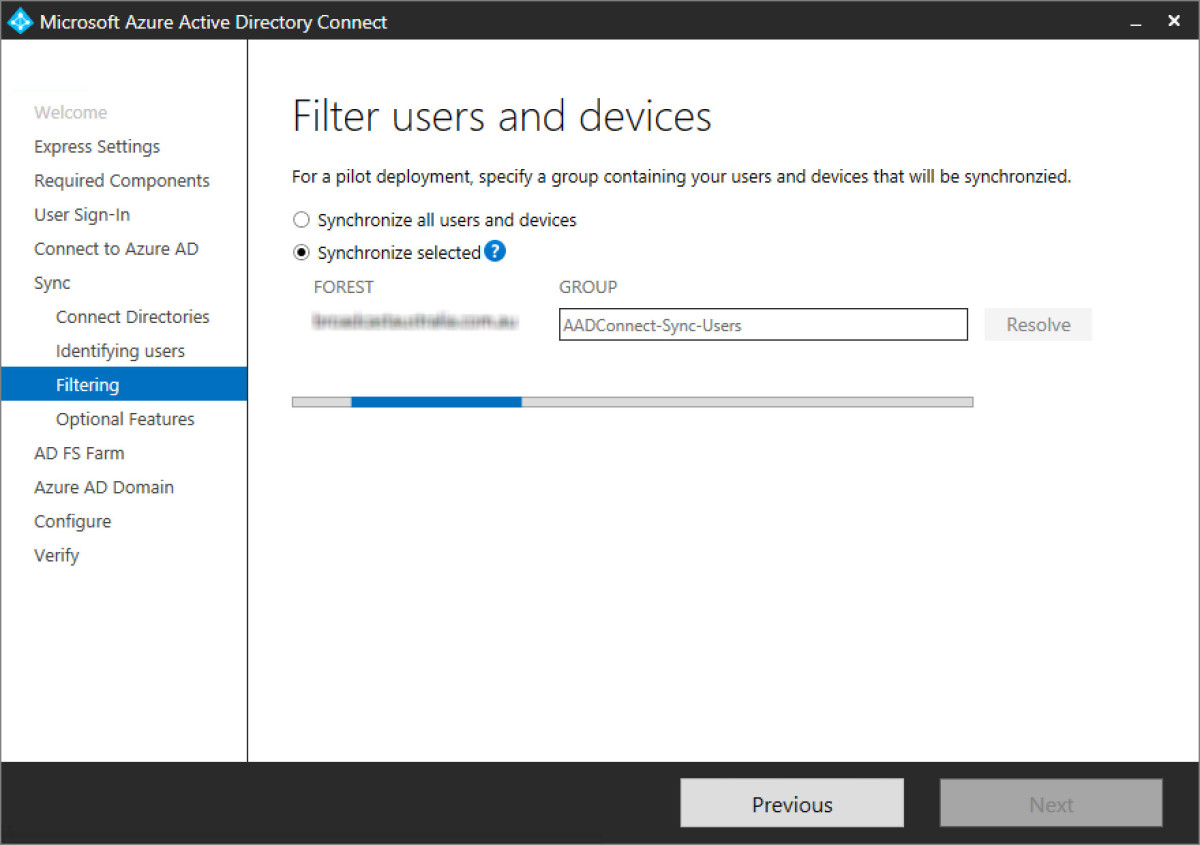
Step 13 - Originally I had elected to sync only users that were members of a security group to AAD. Screenshot below highlights this. However, even with members added to the group, it didn’t quite like that and I changed it back to synchronise all users but made sure it was only my desired organisational units in ADDS.
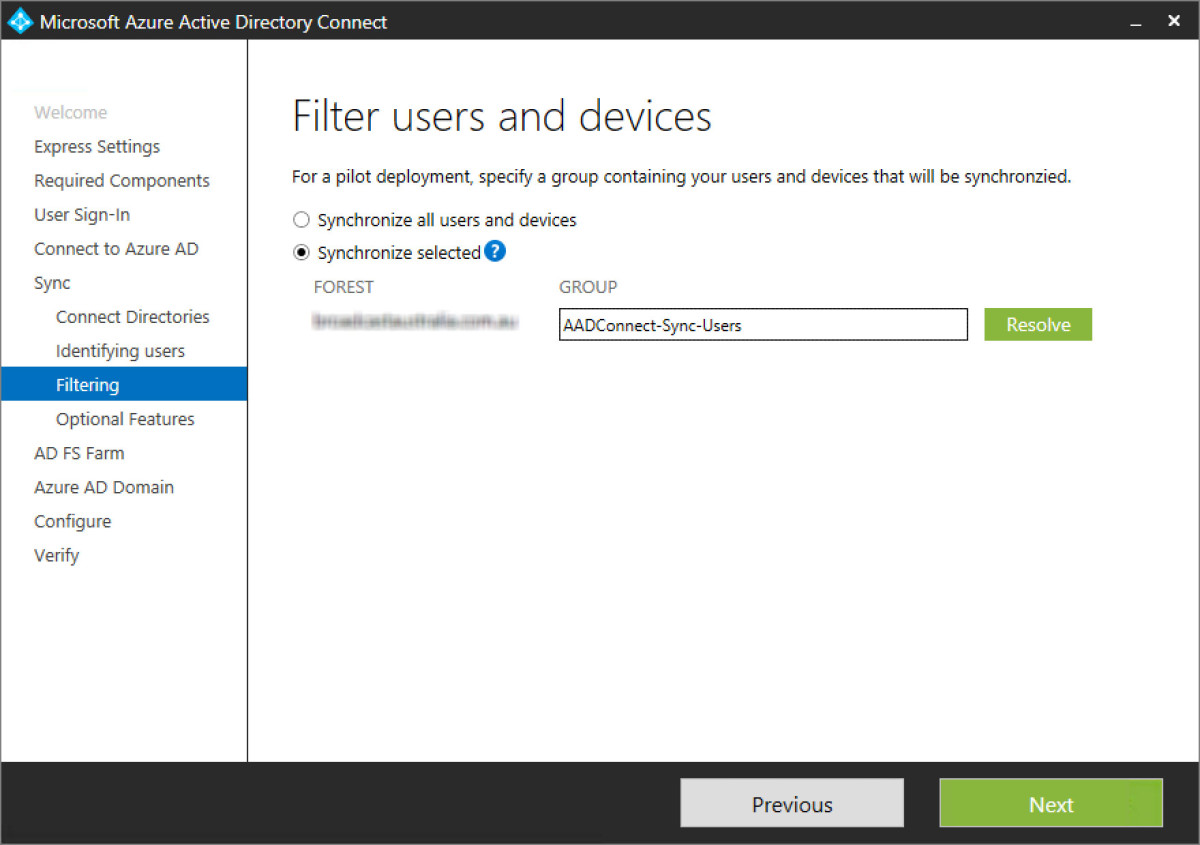
Step 14 - In this example I added the group it, ensured it was found and continued via next.
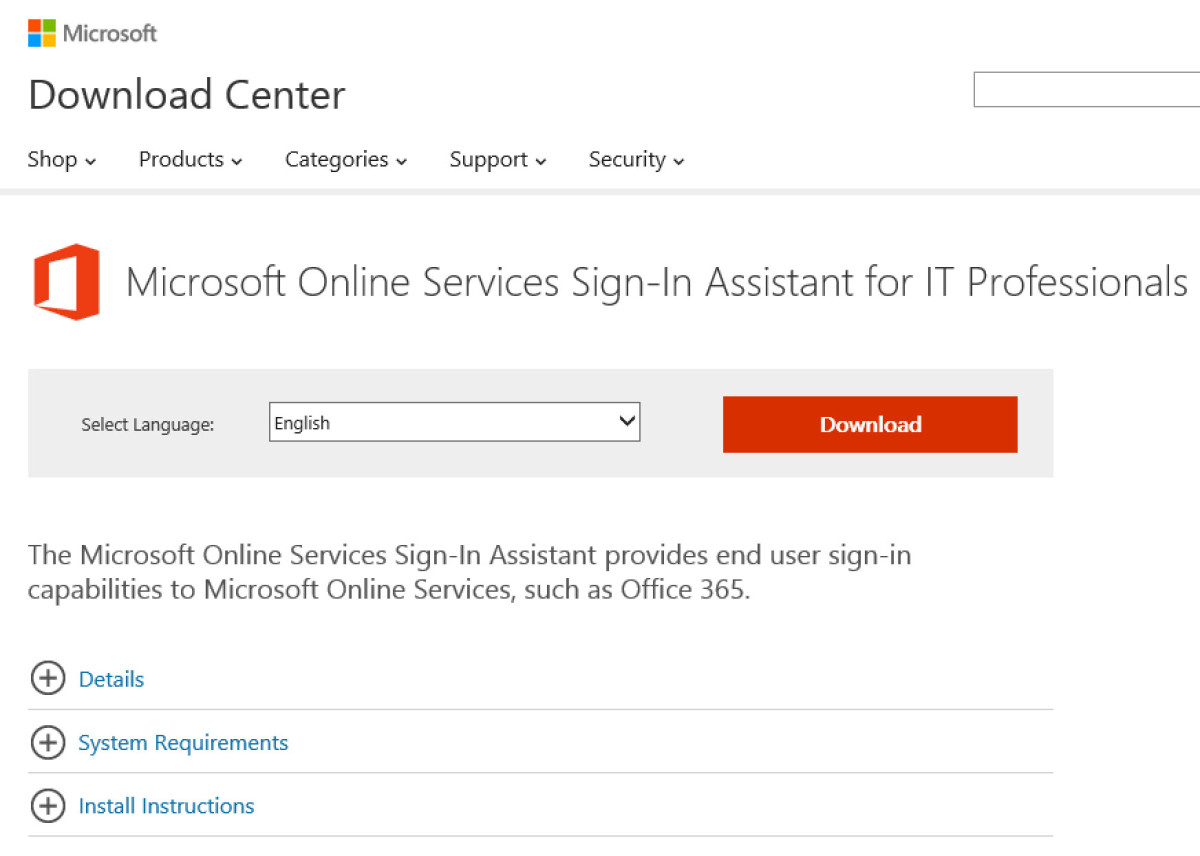
Step 15 - Here I got an error in that Get-ADUser was not able to be run. This was because I did not have Azure AD Powershell installed on the AADC server. To resolve this I downloaded AAD Powershell module and installed on the AADC server. AADC Powershell is available via a direct download from the following link. In addition, the Online Services sign-in assistant is a requirement as well. This can be downloaded from the following link.
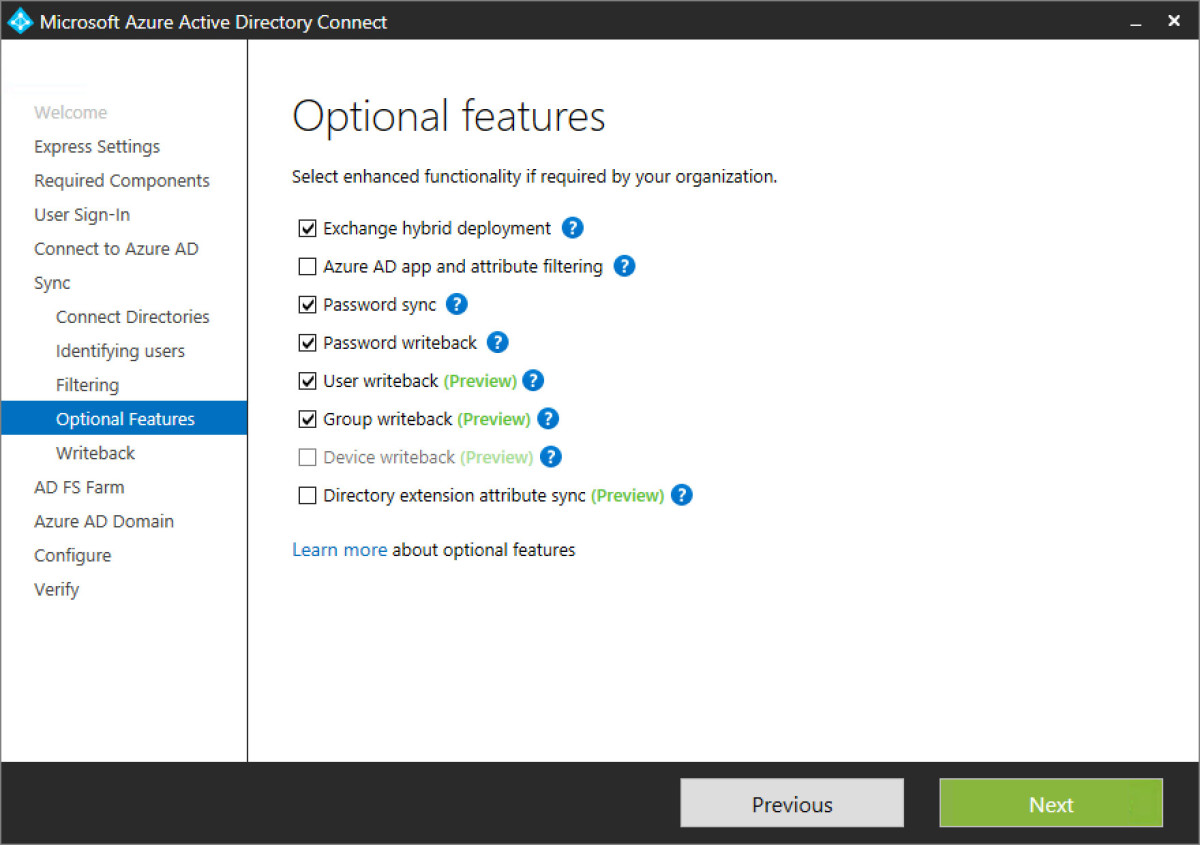
Step 16 - Once filtering is completed, there are a number of options to select in terms of what features we would like to have in AADC. These include write back from AAD to on-premises ADDS. A great use case would be Intune deployed and allowing for registered cloud managed devices to be synced back to on-premises ADDS. To enable this- select Device write back. There are some pre-requisites though. Follow this link and review the Device write back (preview) section.
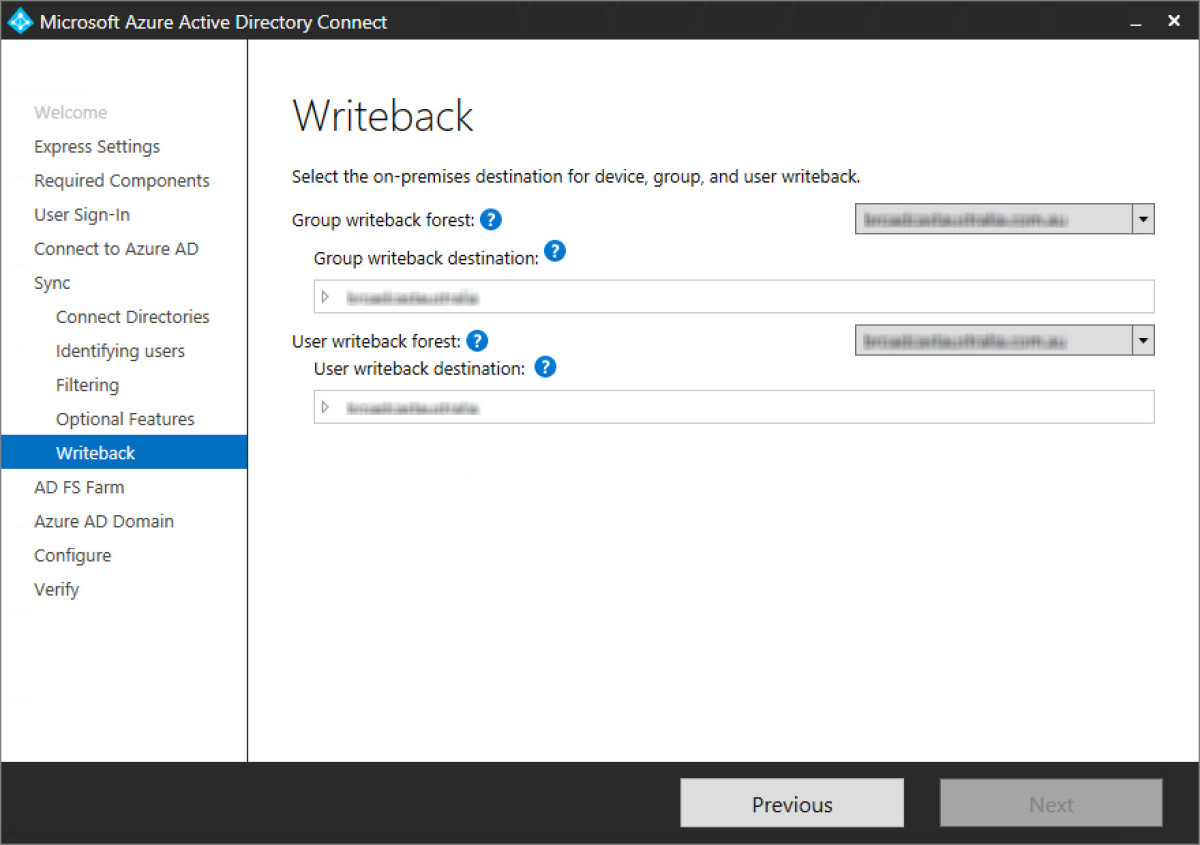
Step 17 - Select where write back functionality is to be allowed to write back to on-premises ADDS. This will be the on-premises ADDS forest.
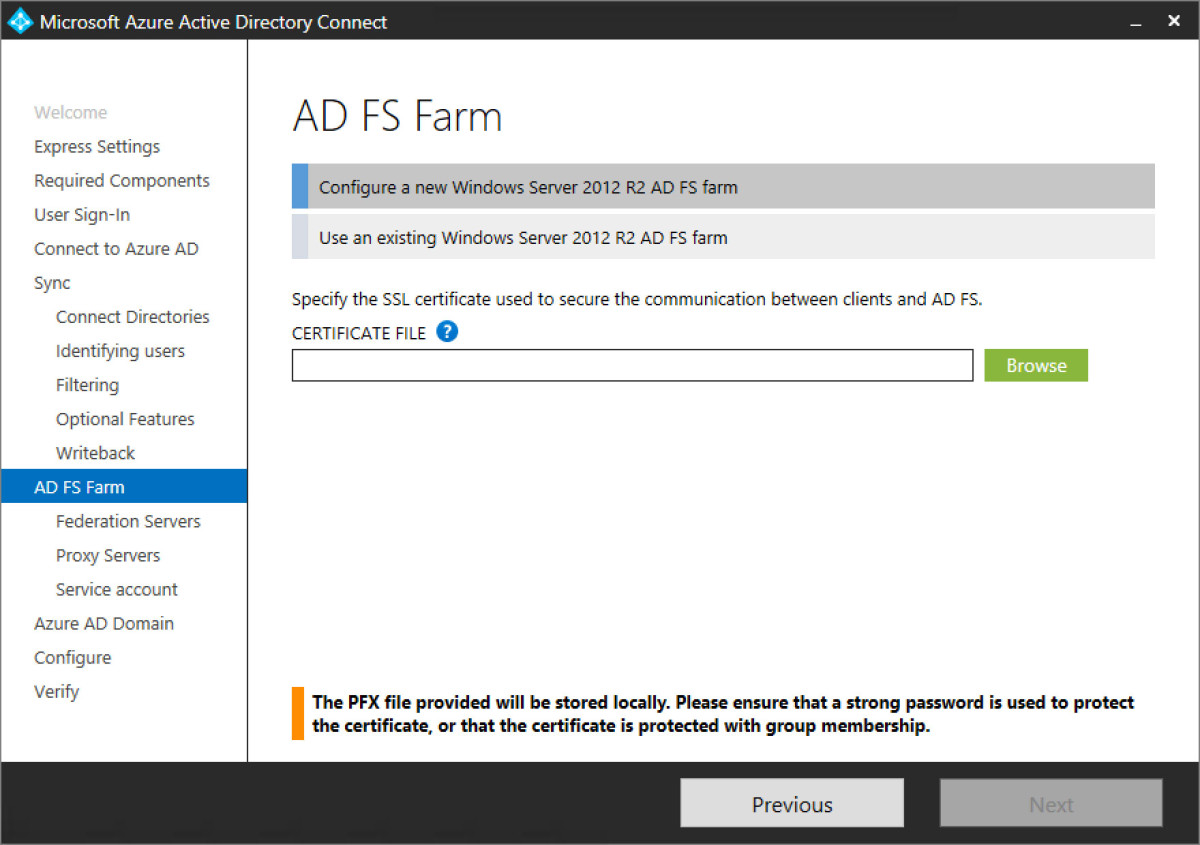
Step 18 - We previously selected ADFS federated users in step 8 as our method of user sign in. To configure ADFS, select the external SSL certificate used to secure the site. I have chosen to use a wildcard SSL as I can re-use in Exchange Online later.
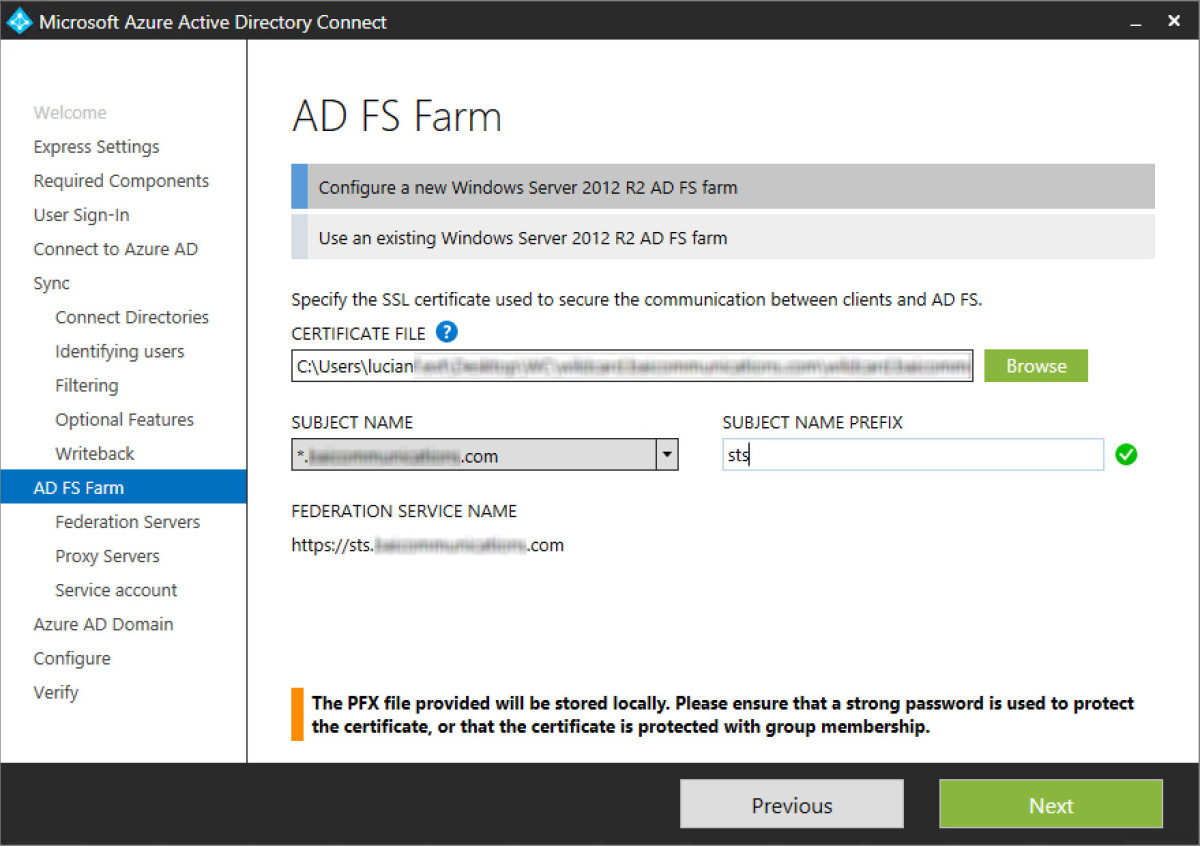
Step 19 - Once the SSL is validated, enter in the site name for ADFS. Microsoft generally use the subdomain of sts or “secure token signing” abbreviation. However, anything from adfs, fs, or whatever subdomain or service you would like is fine here.
Step 20 - Add in the two ADFS servers that are going to authenticate users. These are domain joined servers that are configured in a load balanced pair. In my example these are hosted in Azure compute in a cloud service and availability set with an Azure internal load balancer configured in front.
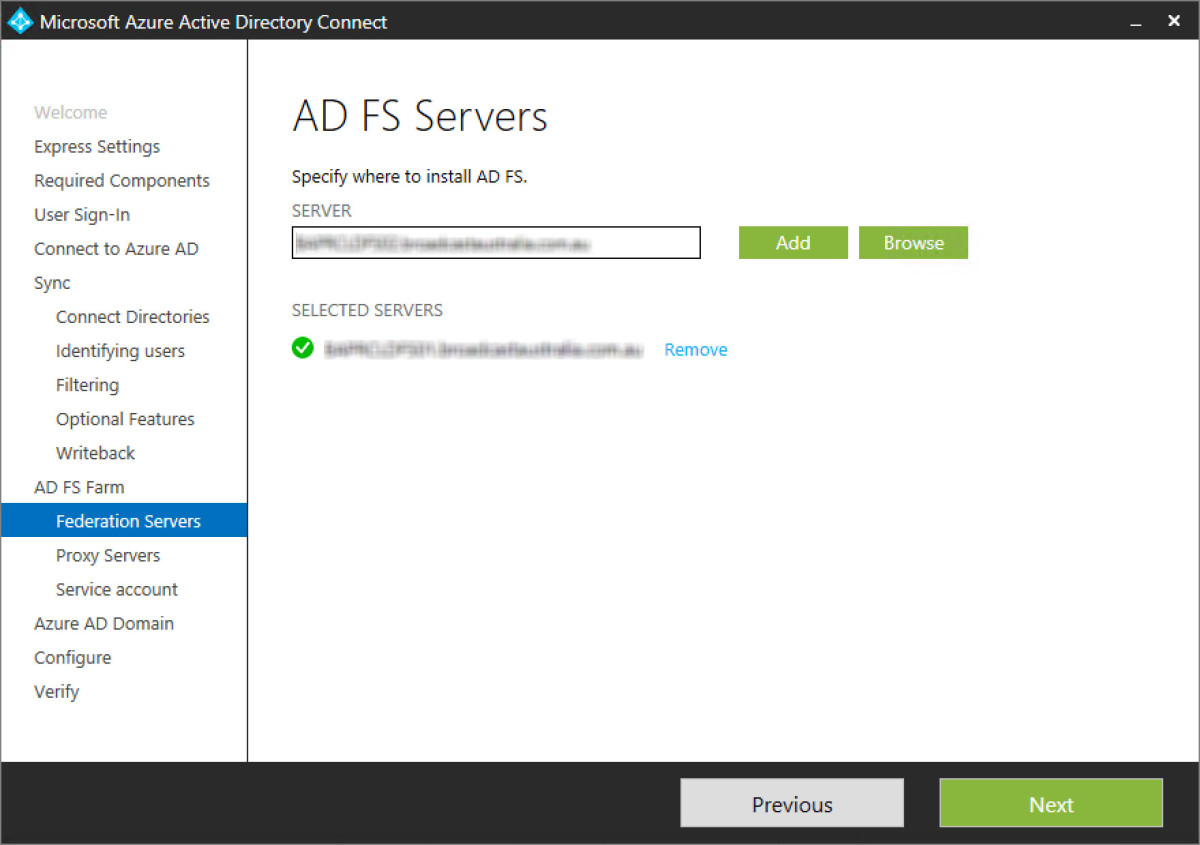
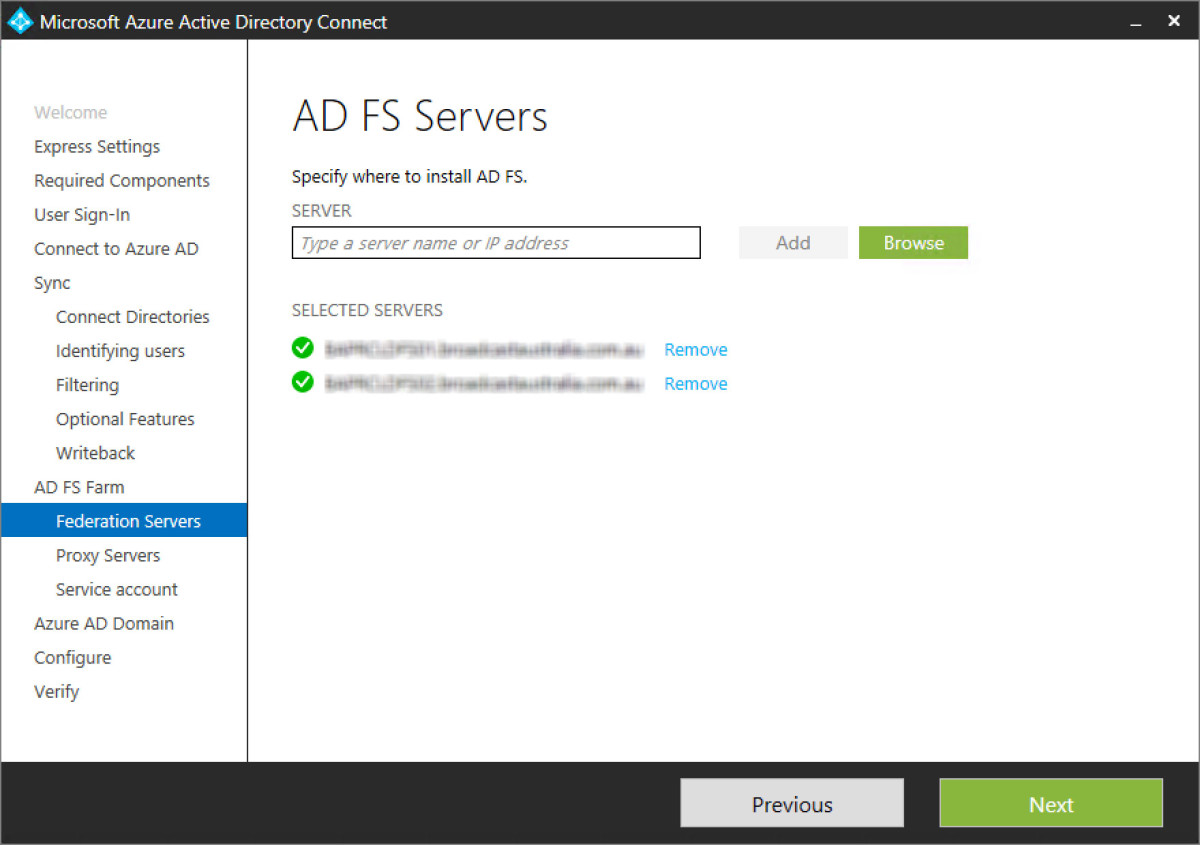
Step 21 - Once both servers are added in and verified, continue to next.
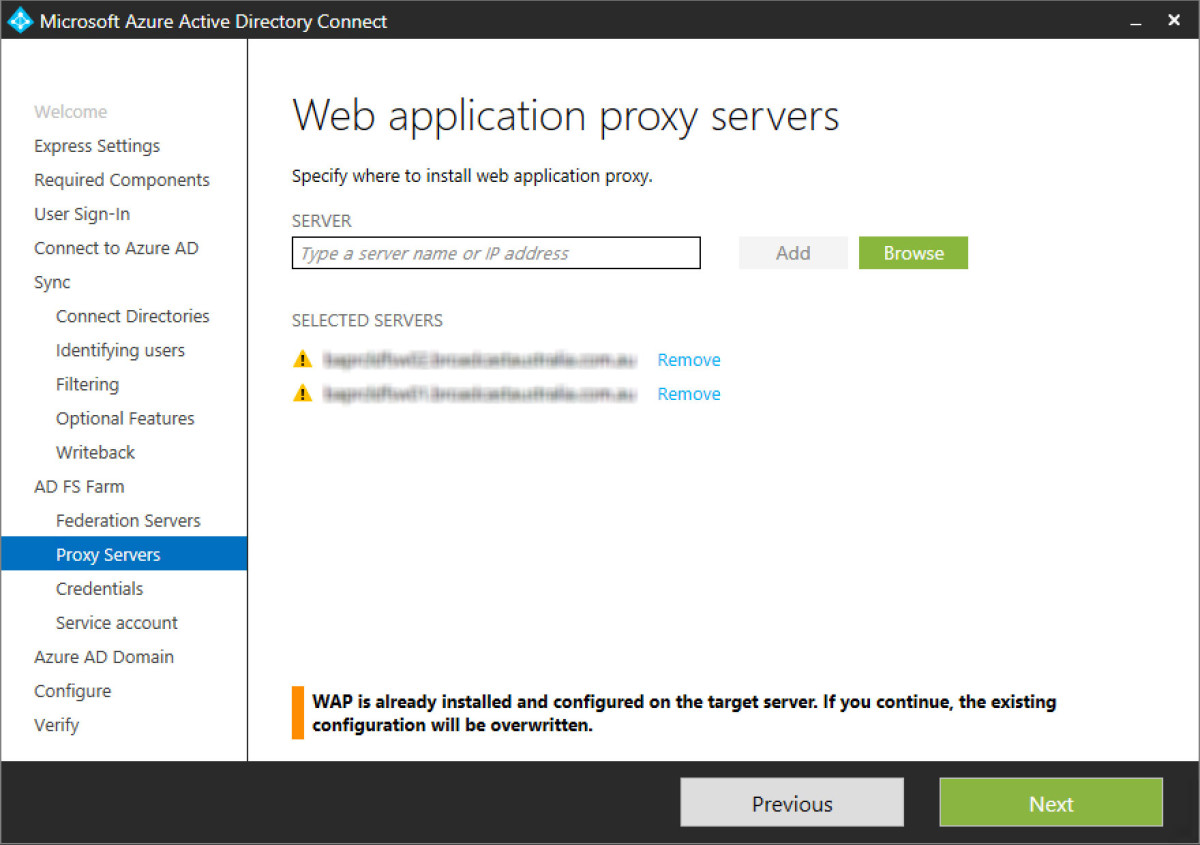
Step 22 - Next add in the two ADFS WAP servers. Again these are hosted in Azure compute in my example. These are two non-domain joined servers in a cloud service and availability set in a controlled or DMZ subnet. I’ve installed the Windows Role > Remote > Web application proxy already on my two servers though with no config, as shown in the below screenshot. However, AADC wizard will override this and compete the config for me.
Step 23 - The following step requires a service account to establish the proxy trust. This needs to be an enterprise admin from the on-premises ADDS environment.

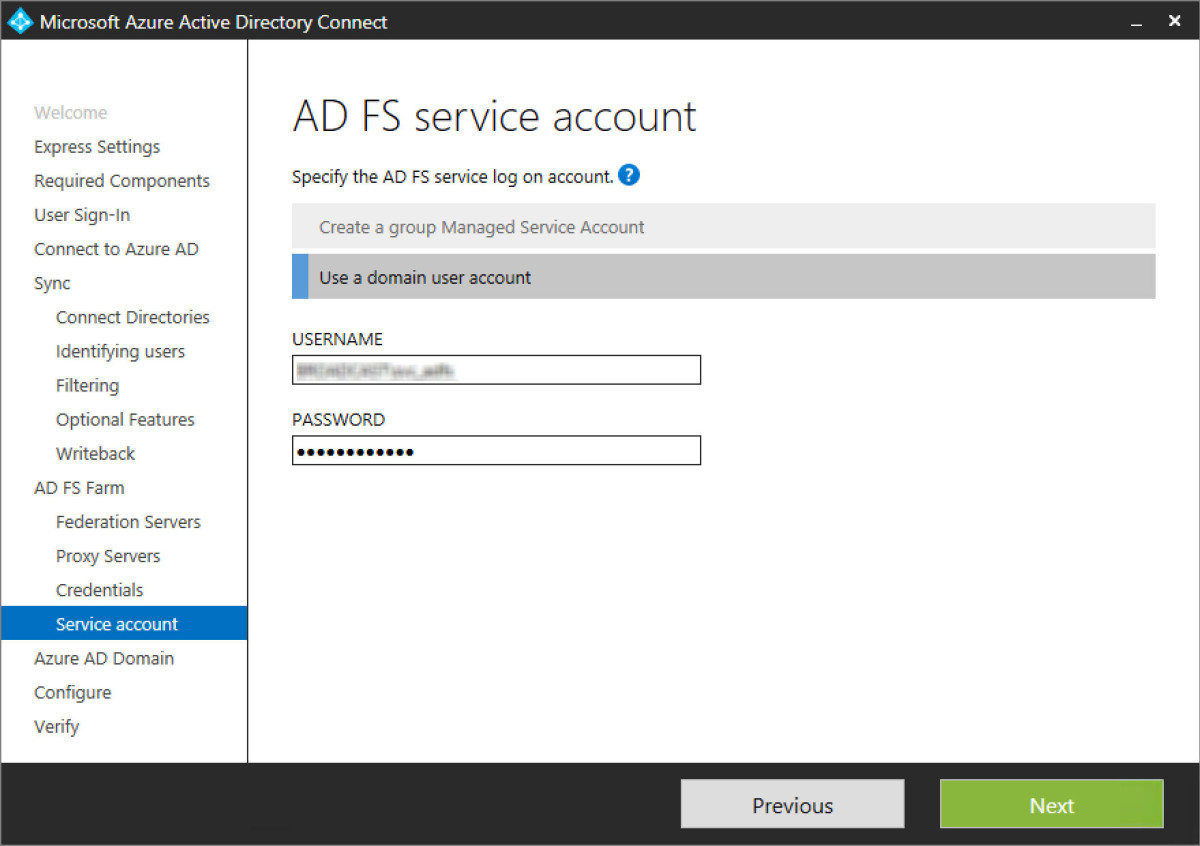
Step 24 - Either a group managed service account (gMSA) or a domain user service account can be used. This account will run the service on the ADFS servers. Use in GMSA is easier to mange from a password management perspective. However gMSA requires Windows Server 2012 R2 domain controllers.

Step 25 - In this scenario I’ve simply used a service account and made sure its a local admin on each of the ADFS servers. I’ve also through local security policies allowed the account to logon locally, logon as a service and logon as a batch job.
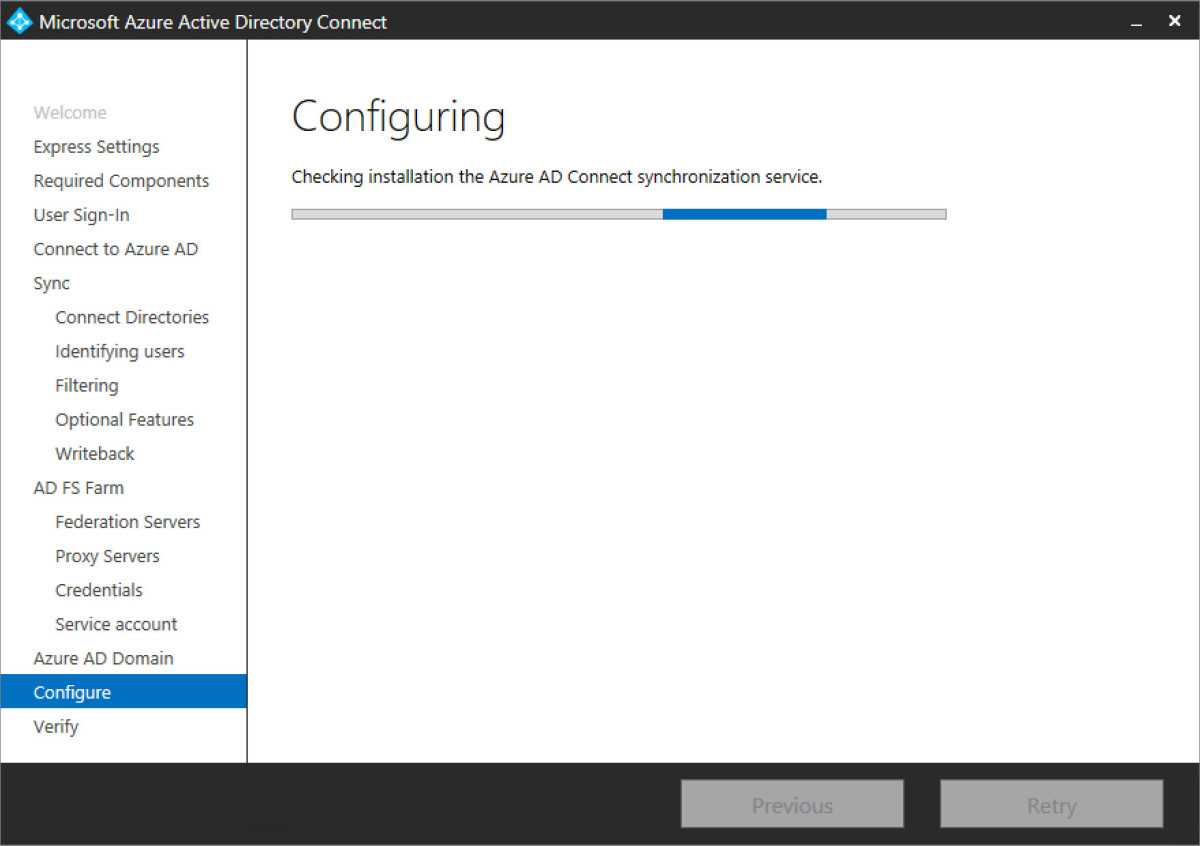
Step 26 - Complete the ADFS service credential input and run the configuration process. This pre-checks all the components prior to running and config as well for any final errors or issues.
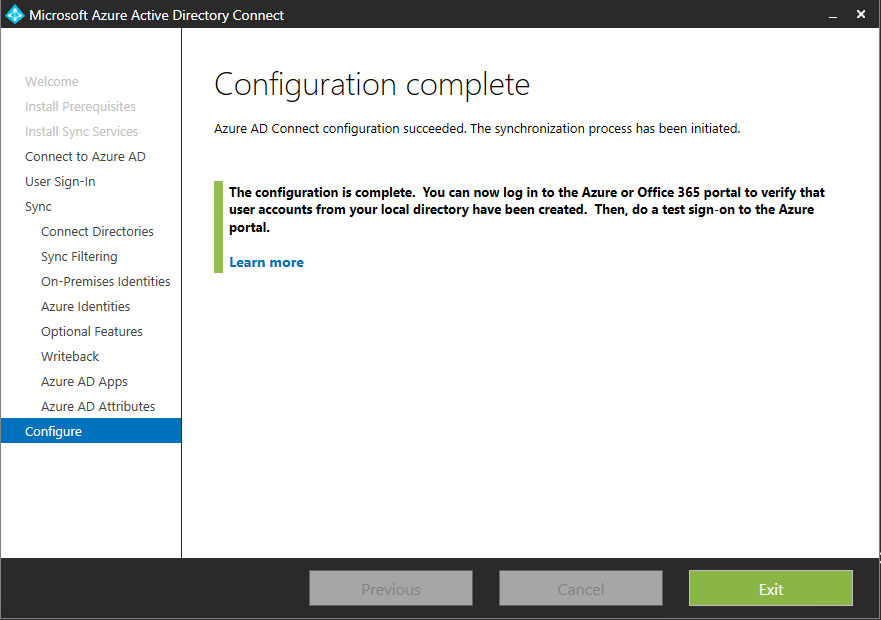
Step 27 - Once the configuration has finalised: AADS, ADFS and the ADFS WAP servers are configured and ready… not quite.
Post install configuration
Once the wizard is finalised, there was a few other components I needed to run to get the servers up and running. These steps included:
- Configuring the sts.domain.com site in the ADFS WAP. The AADC wizard only provisioned the service and completed the trust with ADFS. The wizard didn’t actually add the site, though that was a 2min job.
- In ADFS I had to setup the customised branding as the AADC wizard only provisioned the basic site.
- In my scenario I changed the filter type from sync’ing users based on security group to rather sync all user and group objects and then filter by OU. By default the wizard configures the AADConnect sync service to sync every object in ADDS via the root OU.
Pro-tip when deploying ADFS
ADFS heavily relies on ADDS. Thats a blinding flash of the obvious. What I mean by that is that on-premises ADDS management and maintenance needs to be up to date and infrastructure well maintained. ADDS sites and services sites that are incorrectly configured, orphaned or dead domain controllers that were global catalogues that haven’t been cleaned up, all contribute to ADFS inability to authenticate users. Should there by any of the above poor management and maintenance of ADDS you’ll likely experience the following error:

I’ll be putting together a detailed blog post on how to resolve that should you run into it.
Summary
The AADConnect wizard does a nice streamlined job of configuring the federated identity components that normally requires quite a bit of manual process. It’s a good step forward and with the new options around write back functionality opens up to different configuration prospects.